
This guide starts GrantForge on your local machine with the default embedded H2 database. For production, see Installing the distribution package and Databases.
1. Start the Service
Java 17 or later is required. Download the distribution package from GitHub Releases, or build it yourself by running ./mvnw -DskipTests package in the source directory (the artifact is written to dist/grantforge-release.tar.gz), then extract and start it:
tar -xzf grantforge-release.tar.gz
cd grantforge
bin/startup.sh
Docker works too: build the image from the distribution package first, then start it with the Compose example:
docker build -f deploy/docker/Dockerfile -t grantforge dist
docker compose -f deploy/compose/h2.yml up -d
The service listens on port 9999 by default. The first start creates the database tables and prints a one-time setup token to the log:
WARN ... First-run setup is pending. Open the console and enter this setup token: 7rV2...For the distribution package, logs are written to logs/grantforge.log; with Docker, view them with docker compose logs.
2. Complete Initialization
Open http://127.0.0.1:9999/ in a browser and the console goes straight to the setup page. Enter the token from the log, the organization name, and the username and password for the first administrator (at least 12 characters).

Once initialization completes, this administrator holds both the tenant administrator and platform administrator system roles and can use every console feature. The setup page is then disabled permanently.
3. Create a User
Go to Access Control → User Management, click "Create user", and fill in the username, initial password, and primary department. New users must change their password the first time they log in.
4. Create a Role and Grant Permissions
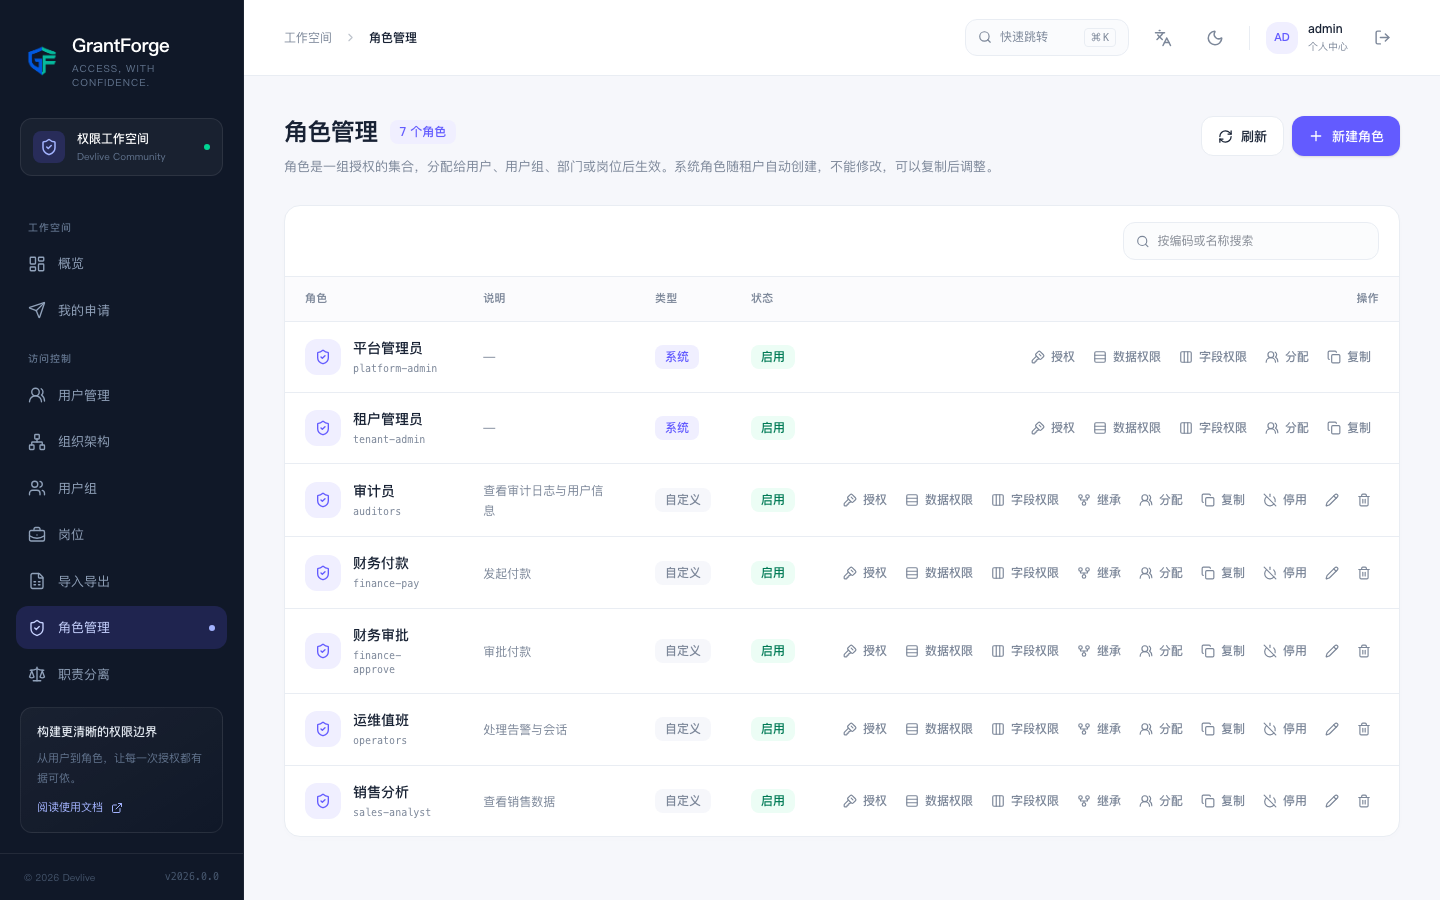
- Go to Access Control → Role Management, click "New role", for example "Read-only auditor".
- Click "Grant" on the role's row and tick the "Audit log" page in the grant matrix. The matrix automatically pulls in the APIs that page needs.
- Click "Assign" and assign the role to the user you just created.
5. Verify the Result
Log in as the new user: the left menu shows only "Audit log". Back on the administrator account, click the "View effective permissions" icon on the user's row to see where each of their permissions comes from.
Next Steps
- Learn about the core concepts.
- Get to know every menu with the user guide.
- Integrate your application with GrantForge.